There is a specific culinary magic that happens when high-heat searing meets a savory, sweet glaze. This Teriyaki Chicken Fried Rice isn’t just another weeknight meal; it is a masterclass in texture and balance. From the succulent, charred edges of the chicken thighs to the individual grains of jasmine rice that have been toasted to golden perfection in a seasoned skillet, every bite tells a story of intentional cooking.
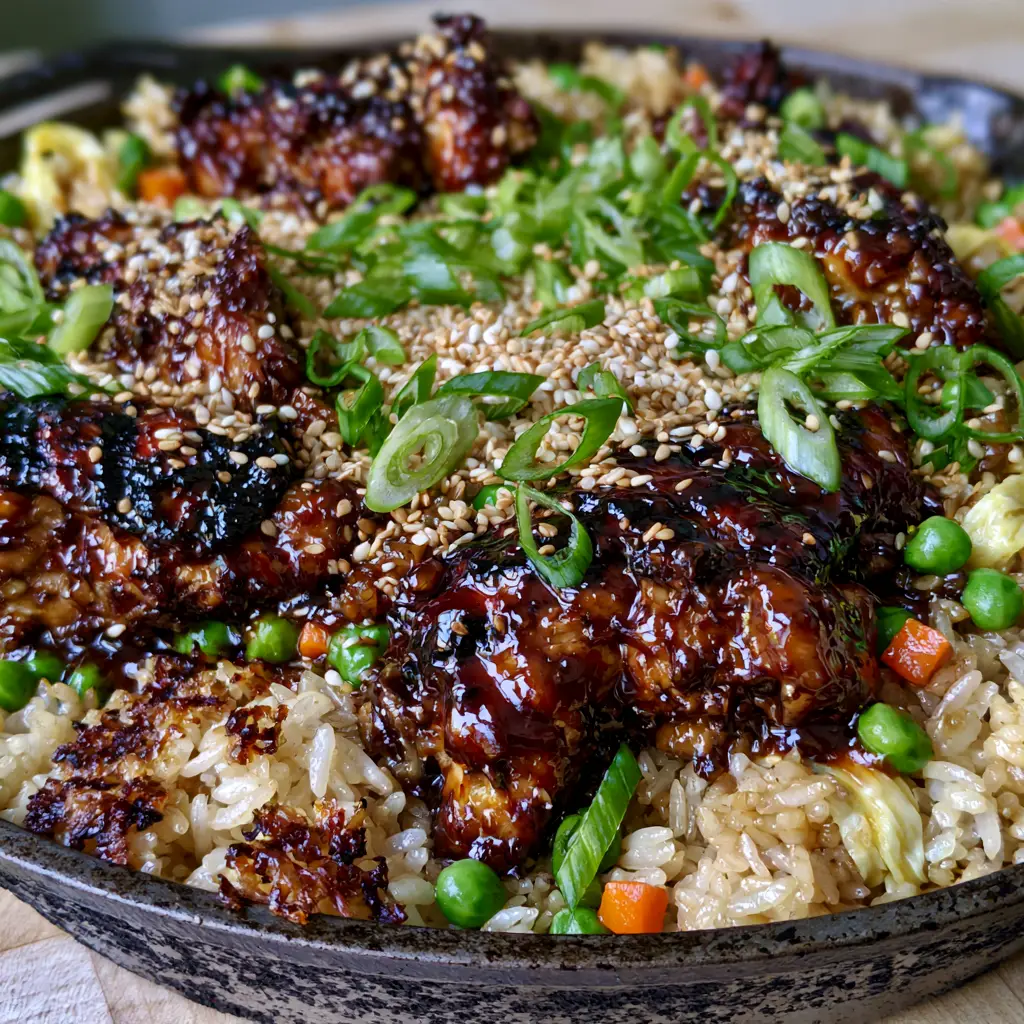
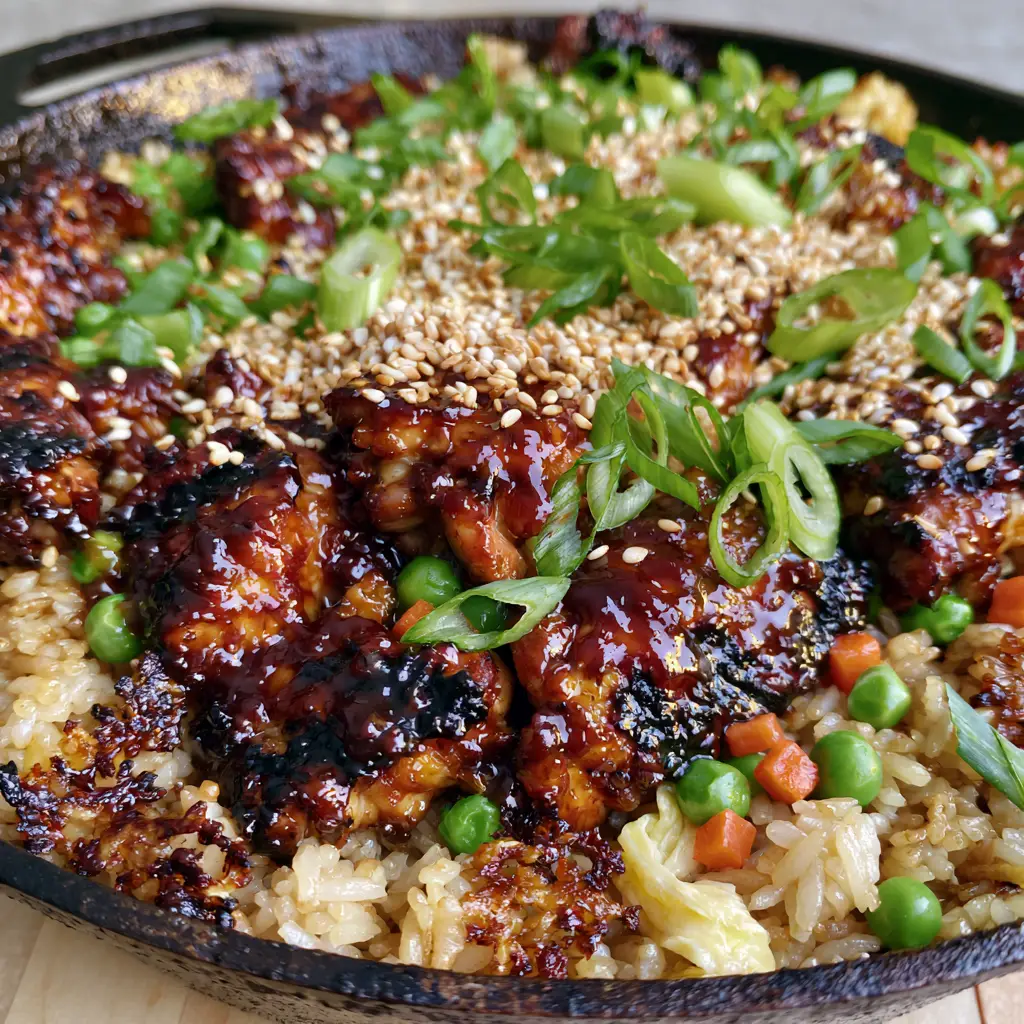
Imagine pulling a heavy cast iron skillet off the stove, the contents still sizzling with energy. You see the deep, dark mahogany of the teriyaki reduction coating chunky pieces of chicken, contrasting against the vibrant pops of orange carrots and garden-green peas. This is the dish that turns “just dinner” into a gourmet experience that rivals the best hibachi grills.
By focusing on the science of the Maillard reaction and the importance of moisture control in rice, we can recreate that elusive “wok hei” flavor right in your home kitchen. Let’s dive into how you can achieve this professional-level Teriyaki Chicken Fried Rice tonight.
Why This Teriyaki Chicken Fried Rice Rules Your Weeknight Routine
- The Mahogany Glaze: We use a specific sugar-to-soy ratio to ensure a thick, glossy finish that clings to the chicken rather than pooling at the bottom of the pan.
- Textural Contrast: Between the soft ribbons of scrambled egg and the crispy rice bits, your palate will never get bored.
- Succulent Chicken Thighs: Unlike lean breast meat, chicken thighs remain juicy under the high heat required for a proper sear and provide a richer flavor profile.
- Vibrant Visuals: The heavy garnish of toasted white sesame seeds and fresh scallions provides a professional “macro-shot” aesthetic that looks as good as it tastes.
Essential Ingredients for Sticky, Savory Success
Boneless Skinless Chicken Thighs (1.5 lbs / 680g): Thighs are essential for this recipe because they contain enough fat to withstand the high heat of the skillet without drying out. They provide the “succulent” texture described in our visual blueprint.
Day-Old Jasmine Rice (4 cups / 600g): Fresh rice contains too much surface moisture, leading to a mushy texture. Chilled, day-old rice allows the grains to separate and develop those coveted crispy rice bits.
Dark Mahogany Teriyaki Sauce (1 cup / 240ml): A combination of soy sauce, mirin, brown sugar, and ginger. We reduce this until it reaches a thick, syrupy consistency that creates a beautiful glaze.
Finely Diced Carrots (1/2 cup / 75g): Dicing these finely ensures they soften quickly during the stir-fry process while maintaining a “tender-crisp” bite.
Vibrant Green Peas (1/2 cup / 75g): These add a burst of sweetness and a pop of color that breaks up the deep browns of the sauce and rice.
Large Eggs (3): Whisked and fried into thin ribbons, these provide a soft, protein-rich contrast to the crunchy elements of the dish.
Toasted White Sesame Seeds (2 tbsp / 18g): Do not skip the toasting step; it releases essential oils that provide a nutty aroma and a professional finish.
Fresh Green Scallions (1/2 cup / 25g): Slicing these thinly and adding them at the very end preserves their crispness and bright green hue.
High-Heat Neutral Oil (3 tbsp / 45ml): Grapeseed or avocado oil is perfect here to achieve those charred grill marks on the chicken without the oil smoking prematurely.
Tools of the Trade: Why Cast Iron is Your Secret Weapon
To achieve the “crispy seared edges” and “charred grill marks” seen in our vision, a seasoned black cast iron skillet is superior to a non-stick pan. Cast iron retains heat exceptionally well, which is crucial when you add cold rice to the pan. If the pan temperature drops, the rice steams instead of frying.
You will also need a sturdy metal spatula. This allows you to scrape the bottom of the pan effectively, flipping the rice and chicken to ensure every surface hits the hot metal. This scraping action is what creates the “crispy rice bits” that define a high-quality Teriyaki Chicken Fried Rice.
The Step-by-Step Roadmap to Crispy Rice and Charred Chicken
Phase 1: Searing the Chicken to Perfection
Pat your chicken thigh chunks dry with a paper towel. This is a critical step; moisture on the surface of the meat prevents browning. Heat 1 tbsp (15ml) of oil in your cast iron skillet until it is shimmering and just starting to smoke.
Add the chicken in a single layer. Do not crowd the pan. Let the chicken sit undisturbed for 3-4 minutes until a deep, dark crust forms. Flip the pieces to see those beautiful charred grill marks. Once cooked through, pour in half of your teriyaki sauce and toss until the chicken is heavily coated in a thick, glossy, dark mahogany glaze. Remove the chicken and set aside.
Phase 2: Preparing the Egg Ribbons
Wipe the skillet quickly and add a teaspoon of oil. Pour in your whisked eggs and swirl the pan to create a thin sheet. Once set, fold the egg over itself and remove it from the pan. Slice it into delicate ribbons and set aside. This technique ensures the eggs stay soft and don’t get lost in the rice.
Phase 3: The High-Heat Rice Fry
Add the remaining oil to the skillet. Toss in your finely diced orange carrots and sauté for 2 minutes. Increase the heat to high and add the chilled jasmine rice. Use your spatula to break up any clumps immediately.
Spread the rice in an even layer and let it sit for 60 seconds. You should hear a distinct crackling sound—this is the sound of the rice hydrating in the oil and crisping up. Add the green peas and the remaining teriyaki sauce. Stir-fry vigorously for 3 minutes until the rice is a uniform golden-brown.
Phase 4: The Final Assembly and Garnish
Fold the glazed chicken and the egg ribbons back into the fluffy rice. Toss for one minute to ensure everything is heated through and the flavors have melded. The sauce should be sticky, not wet.
Turn off the heat. This is where the visual transformation happens. Sprinkle a dense flurry of toasted white sesame seeds across the surface. Follow with a generous scattering of thinly sliced green scallions. The residual heat will slightly soften the scallions while keeping them fresh and crisp.
Culinary Secrets for Achieving Professional Wok Hei at Home
“Wok Hei,” or the ‘breath of the wok,’ is the charred, smoky flavor achieved through high-heat stir-frying. In a home kitchen, we mimic this by using cast iron and allowing the rice to ‘sear’ against the metal without moving it for short bursts.
If you find your rice is sticking too much, it likely wasn’t cold enough. If you are in a rush, spread freshly cooked rice on a baking sheet and place it in the freezer for 15 minutes to dry out the surface starch. This is a pro-tip for making Teriyaki Chicken Fried Rice on a whim.
Always season in layers. While the teriyaki sauce provides salt, a tiny pinch of kosher salt on the carrots and eggs during their individual cooking phases ensures the entire dish is seasoned from the inside out.
The Best Ways to Store and Reheat Your Leftovers
This dish stores remarkably well, making it a premier choice for meal prep. Place leftovers in an airtight container and refrigerate for up to 4 days. The flavors of the ginger and garlic in the teriyaki sauce actually deepen overnight.
To reheat, avoid the microwave if possible, as it can make the rice rubbery. Instead, add a splash of water or extra soy sauce to a pan and stir-fry the leftovers over medium heat until the chicken is warmed through and the rice regains its fluffiness.
Perfect Pairings: What to Serve with This Skillet Meal
While this is a complete meal on its own, adding a fresh side dish can balance the richness of the mahogany glaze. A crisp cucumber onion tomato salad provides a refreshing acidic contrast to the savory chicken.
If you’re hosting a dinner party and want to stick with the theme, these Thai-style ground pork skewers make for an excellent appetizer. For a fusion twist, some enthusiasts enjoy serving this alongside a Hawaiian mac salad for the ultimate comfort food plate.
To drink, a light and bubbly lemonade moscato wine spritzer cuts through the saltiness of the soy sauce perfectly, making it a great choice for a summer evening on the patio.
Common Questions About Making Restaurant-Quality Fried Rice
Yes, but be careful not to overcook it. Thighs are preferred for Teriyaki Chicken Fried Rice because they stay succulent and develop better charred grill marks without drying out.
While a wok or large pan works, a seasoned cast iron skillet is excellent for maintaining high heat, which is essential for getting those crispy seared edges on the rice.
You can substitute mirin with dry sherry or sweet marsala wine, or simply add an extra teaspoon of sugar to some rice vinegar for a similar balance.
The mahogany glaze comes from reducing the teriyaki sauce (soy sauce, mirin, and sugar) in the hot skillet until it caramelizes and thickens around the seared chicken.
Mushy rice is usually caused by using freshly cooked rice. For the best fluffy texture and crispy rice bits, use day-old jasmine rice that has been chilled in the refrigerator.
The Ultimate Teriyaki Chicken Fried Rice Recipe
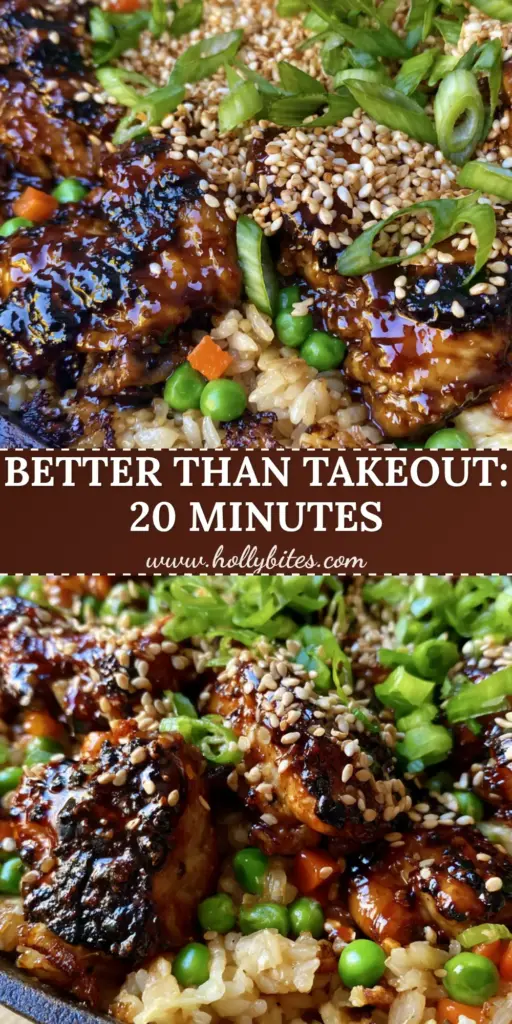
Teriyaki Chicken Fried Rice: The Ultimate Better-Than-Takeout Guide
Ingredients
Equipment
Method
- Heat 1 tbsp oil in a cast iron skillet. Add chicken chunks in a single layer and sear for 3-4 minutes until charred grill marks appear.
- Add half of the teriyaki sauce to the chicken, tossing until it forms a thick mahogany glaze. Remove and set aside.
- Wipe the skillet, add a little oil, and cook whisked eggs into a thin sheet. Remove, roll, and slice into ribbons.
- Add remaining oil and carrots. Sauté 2 minutes. Add rice and remaining sauce. Press down to create crispy rice bits.
- Fold chicken, eggs, and peas into the rice. Toss for 1-2 minutes until heated through.
- Top with a dense flurry of sesame seeds and fresh scallions before serving in the skillet.
Notes
Don't crowd the pan when searing chicken to ensure you get those distinct charred marks.
Closing & Call to Action
Mastering Teriyaki Chicken Fried Rice is a milestone for any home cook. It combines the technical skills of heat management with the artistic flair of balancing sweet and savory flavors. The result is a stunning, skillet-to-table masterpiece that satisfies every craving for authentic, high-quality comfort food.
Did you manage to get those perfect crispy rice bits? Let me know in the comments below! If you loved the visual of that mahogany glaze, be sure to share this recipe on Pinterest so your friends can try it too. Happy cooking!